LEGO 30709
Caliper-Measured LEGO Set Rebuilt in SolidWorks
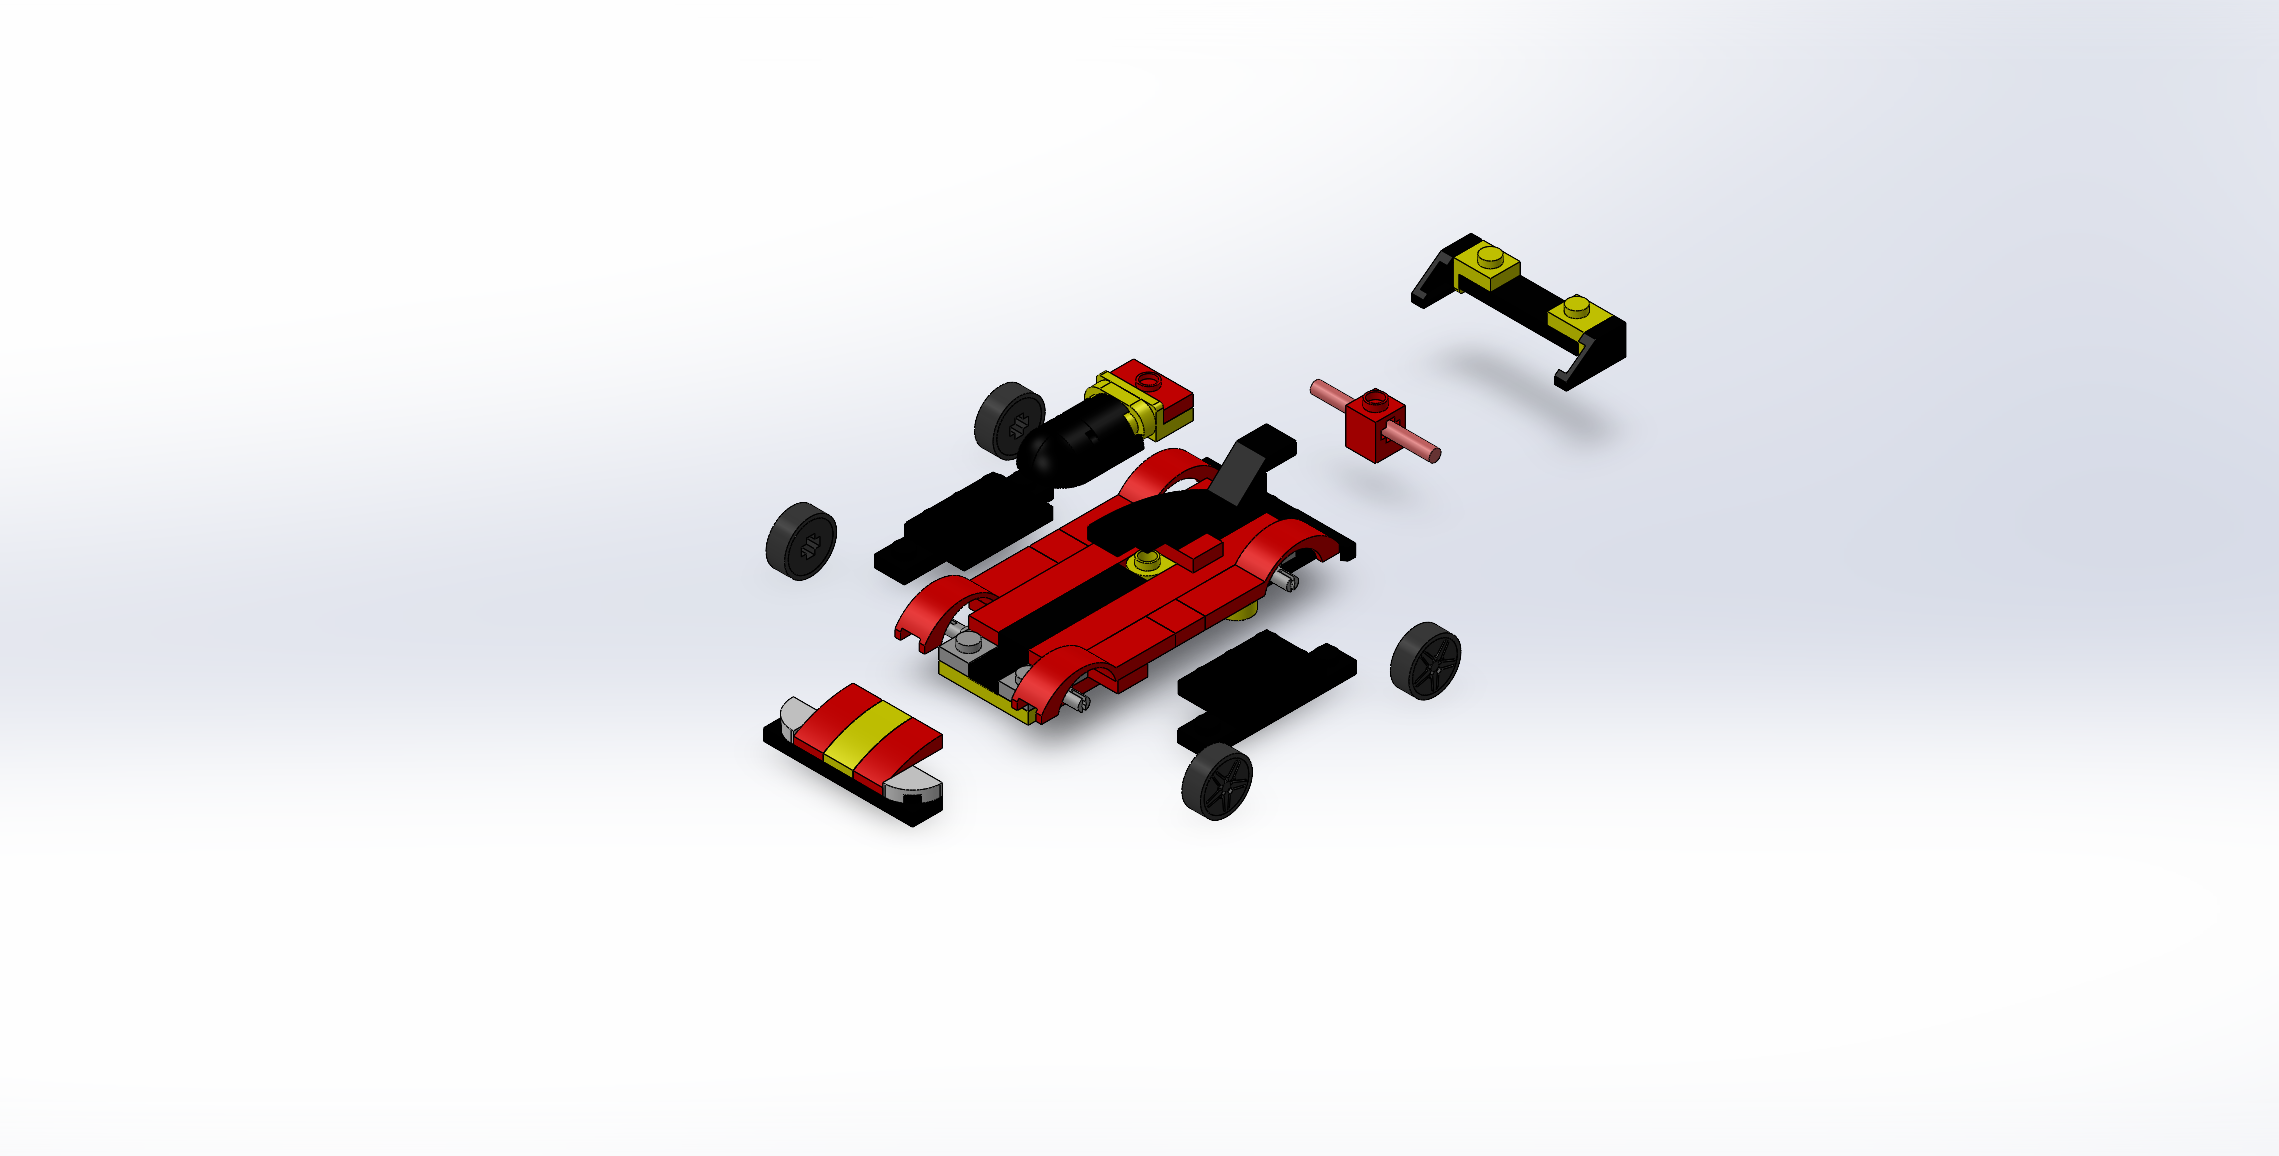
I reverse‑engineered every piece of LEGO set 30709 by measuring geometry with a digital caliper and modeling the parts natively in SolidWorks. After creating accurate studs, radii, and interface features, I assembled the full car digitally and produced realistic renders.
This page highlights the exploded assembly and several key sub‑assemblies used in the build.
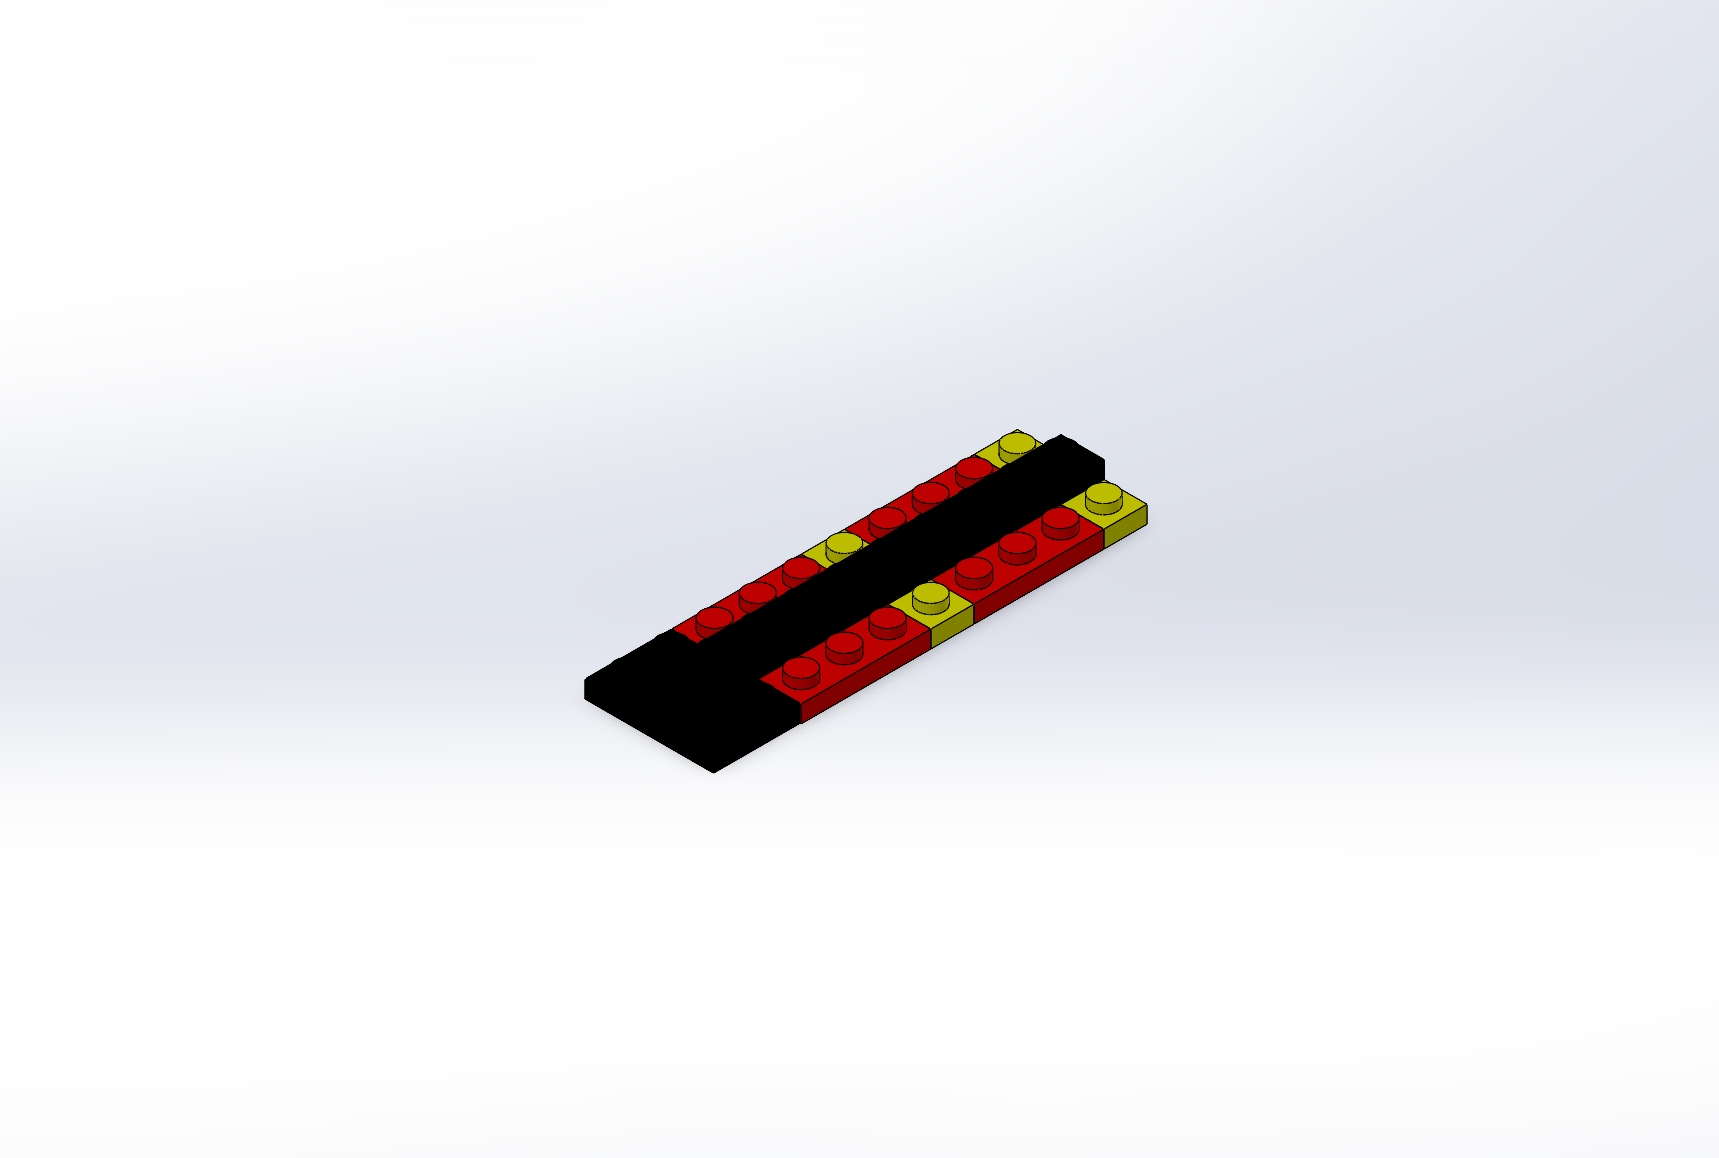
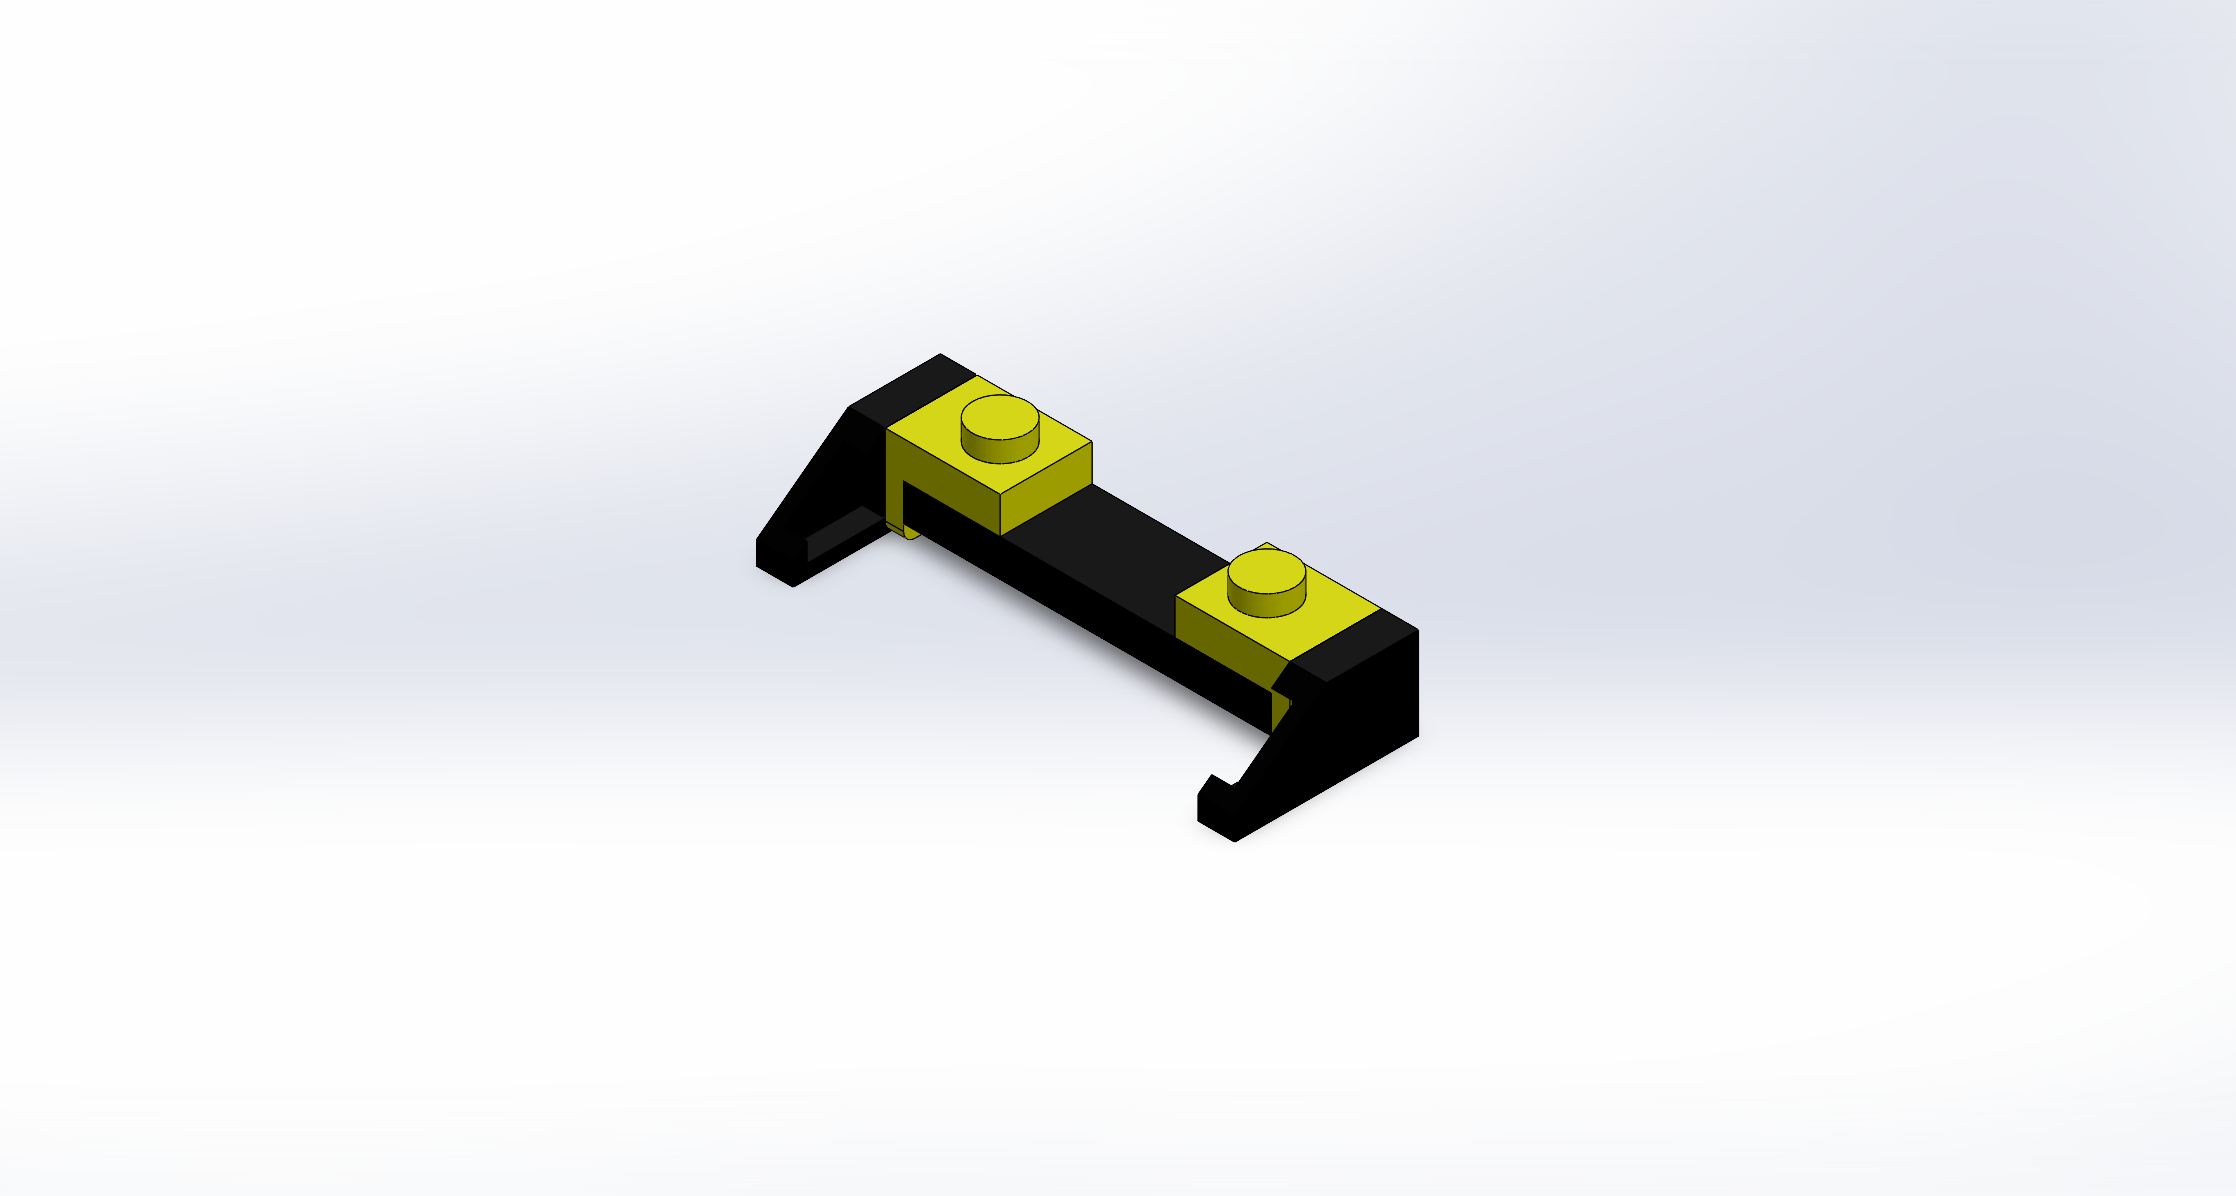
Chassis / Base
The base establishes plate height, stud pitch (8.0 mm), and connection clearances. I modeled chamfers and underside cavities to match real LEGO geometry, ensuring other parts snap into place cleanly.
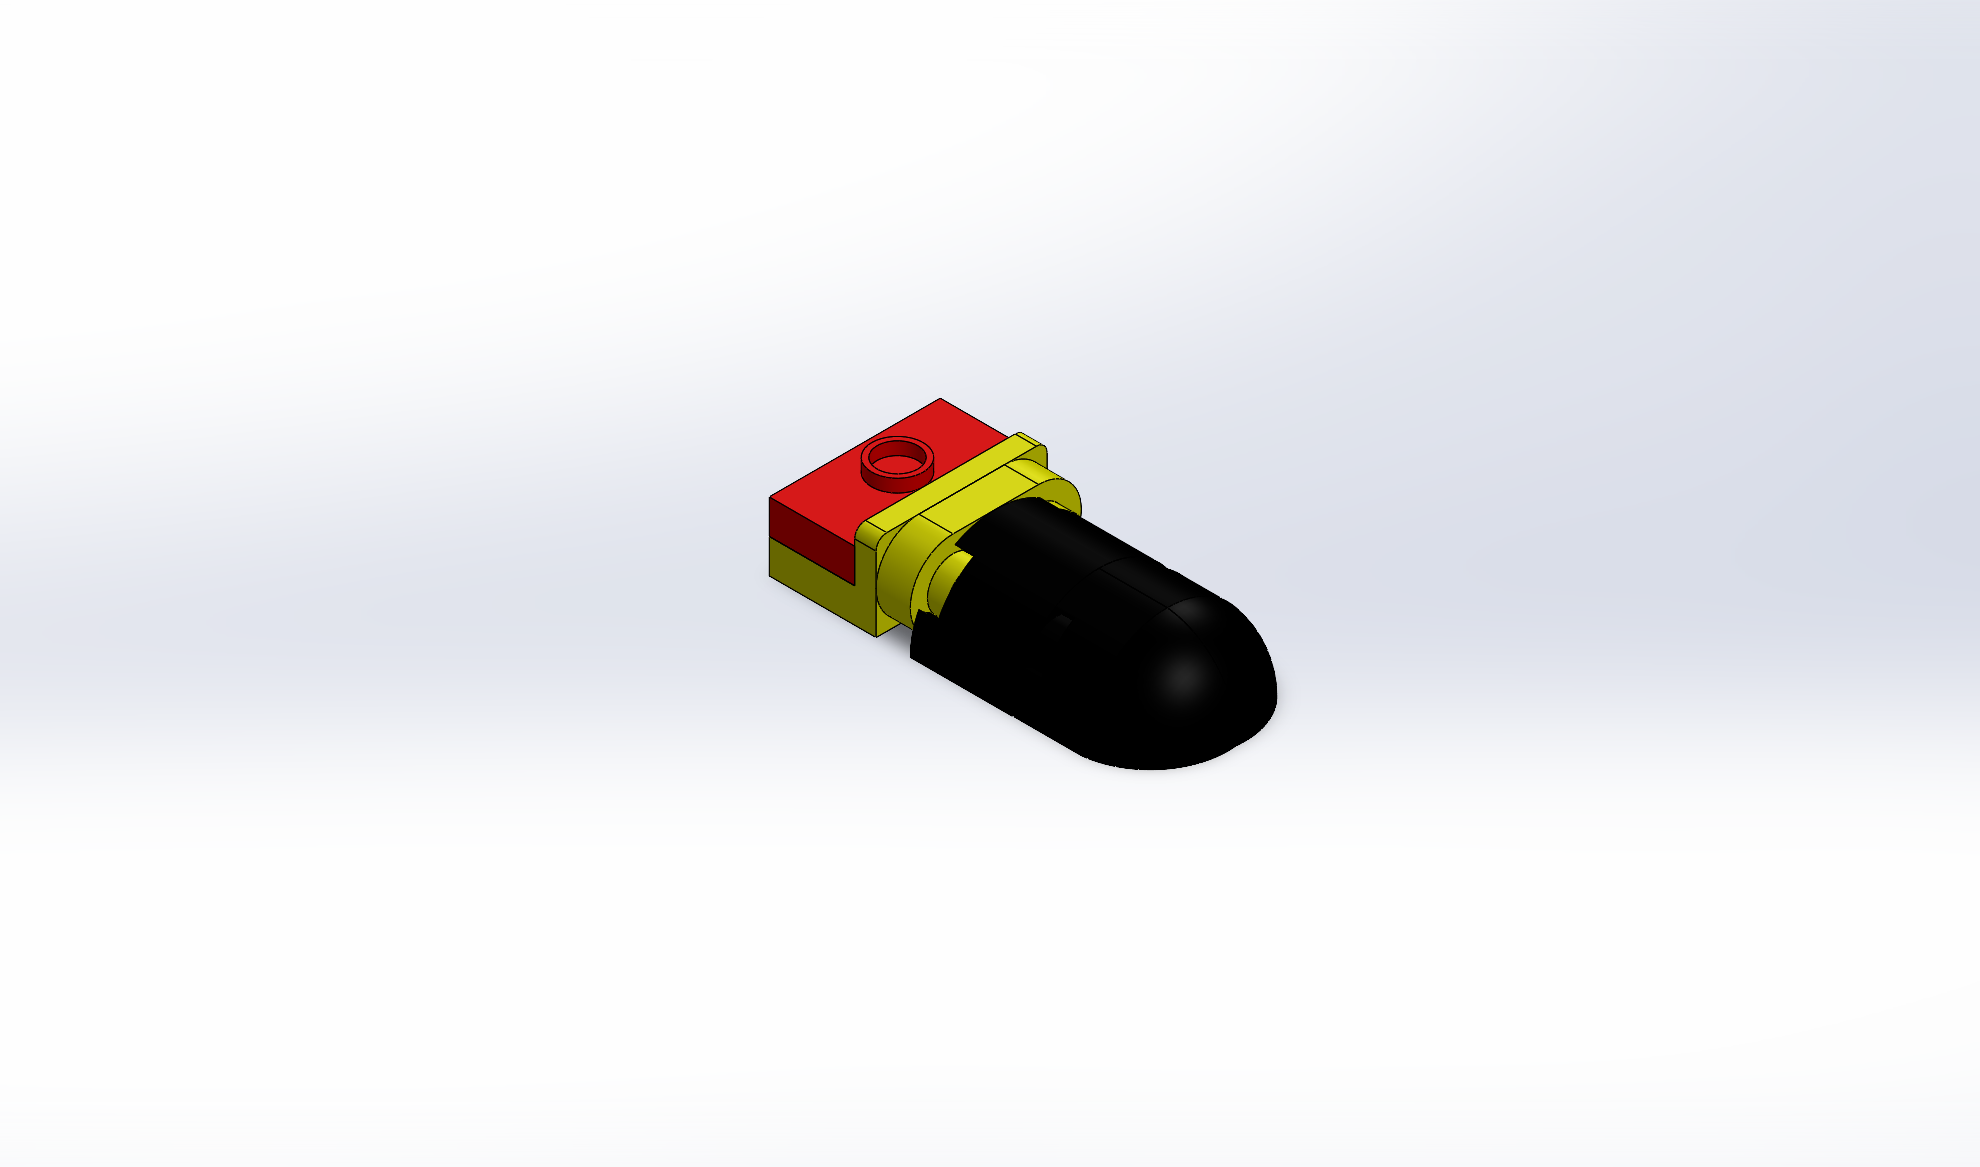
Cockpit Module
Rounded slopes and the windscreen required accurate blend radii and tangent transitions. I created part configurations to iterate curvature while keeping interface studs locked to nominal dimensions.
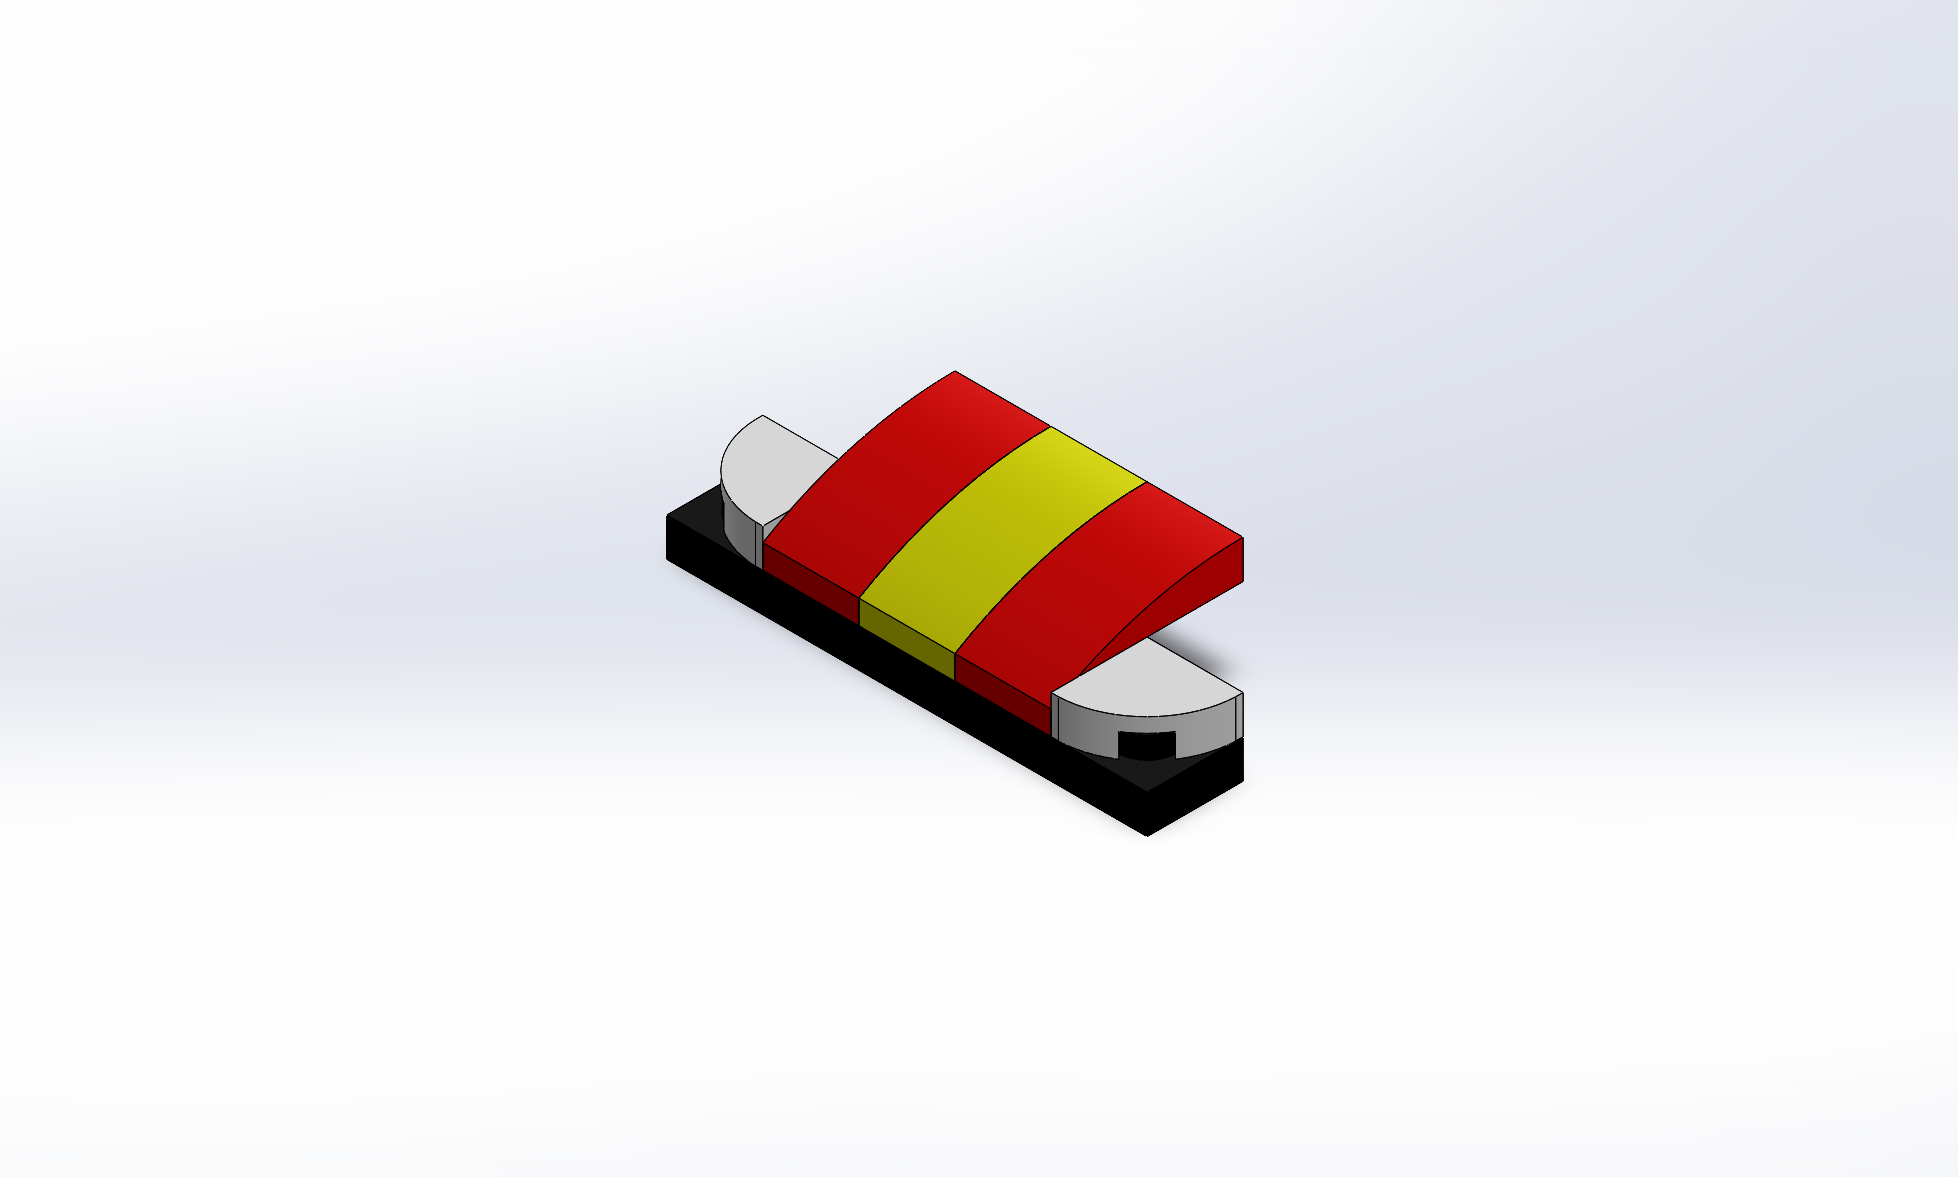
Front End
The nose section uses curved slopes and a low‑profile plate. I matched the canopy fit while keeping consistent stud alignment across the bumper plates.
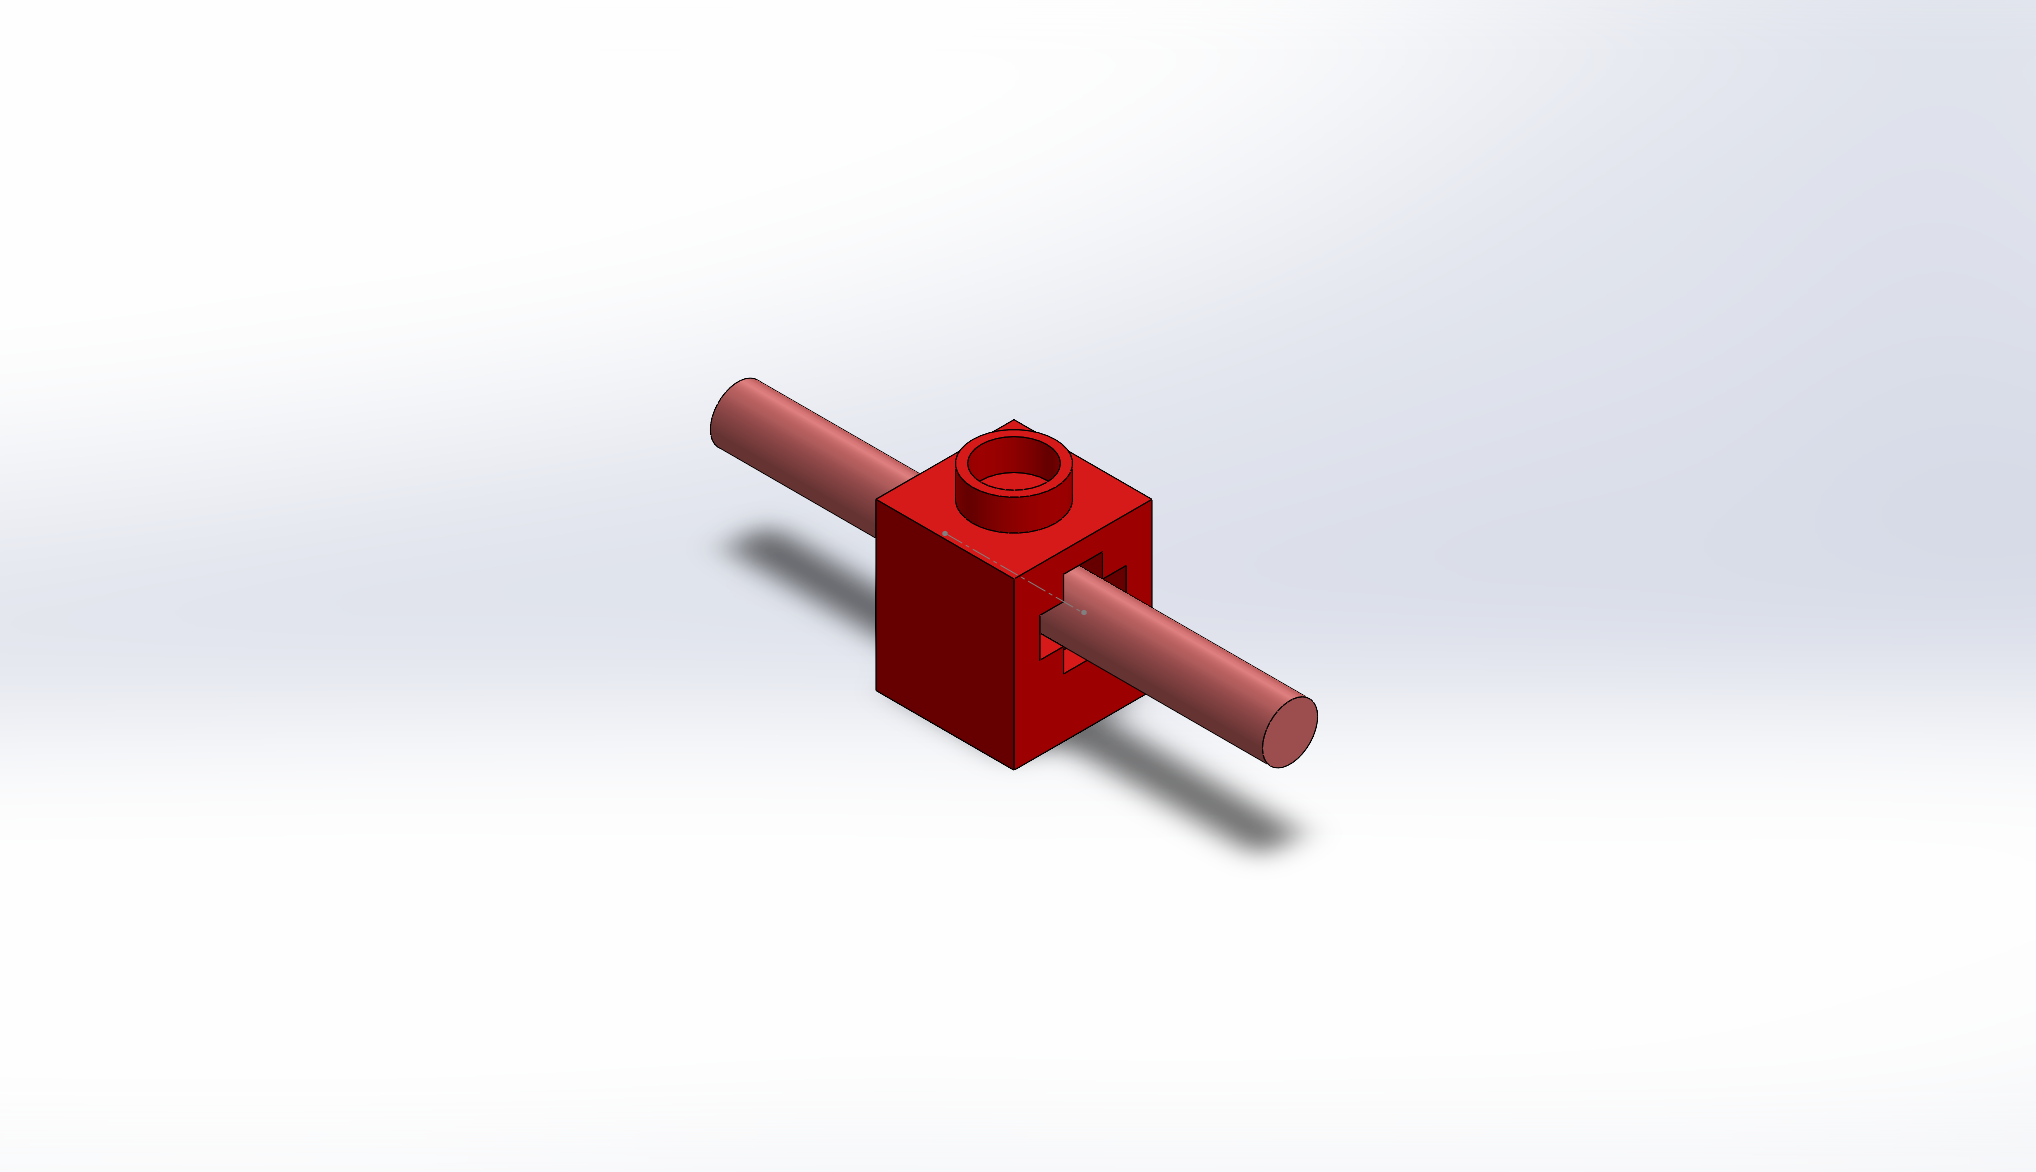
Rear Spoiler Base
The spoiler riser captures clip geometry for the final wing. I modeled the notch and hook features to ensure proper interference and a snug fit without collision.
Wing
Final aero element modeled with simple plate and clip interfaces. The part mates directly to the spoiler base for easy assembly and removal in the digital build.